Tillamook Coast Life Blog
5 Easy Steps for Polishing Beach Rocks at Home
When I was a little girl, I loved hunting for agates on the Oregon Coast and I always kept my eyes peeled specifically for rocks that we thought would polish up well, such as agates and jasper. Now, I walk the same beaches with my daughters, who are 7 and 11 years old. We, too, look for these hard stones to bring home and polish in the rock tumbler. It’s now a family tradition.
We’ve got this rock polishing process down and the kids look forward to it. It’s a wonderful family-friendly activity where everyone learns something—like a science lesson at home.
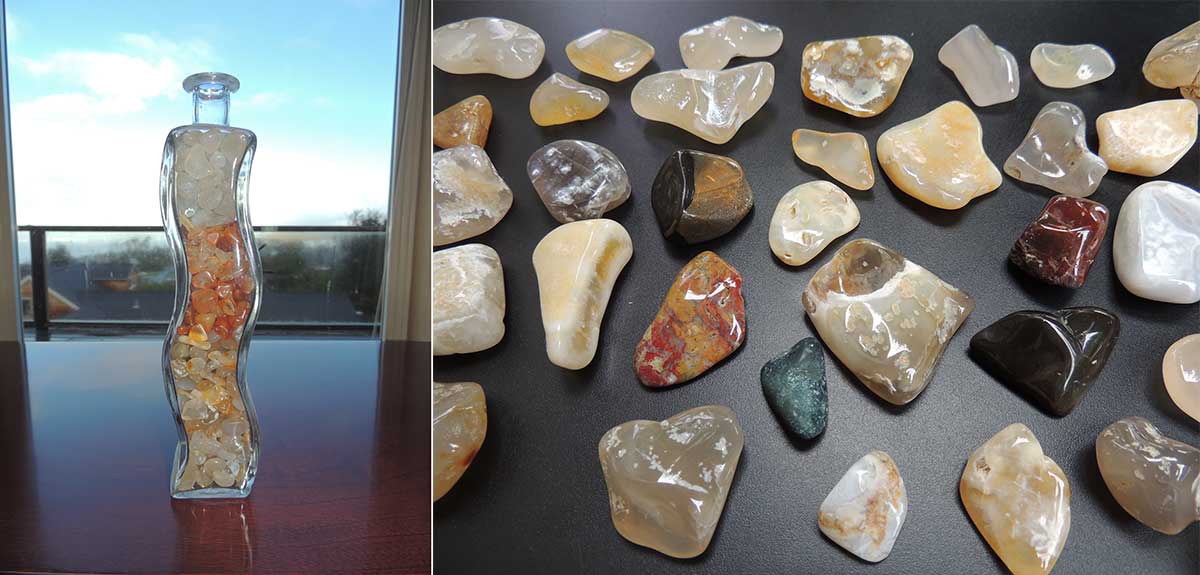
Which rocks will polish best?
When rockhounding, you’ll want to look for agates and jasper. Most rocks on the beach will not polish; that’s what makes rockhounding fun—it’s a challenge to find the right rocks to bring home. Harder stones are the best candidates for polishing.
Where will you polish them?
Although some may find the white noise of the rock tumbler relaxing; others may not. You’ll want to find a place to set up your rock tumbler that is far away from the bedrooms in your house; as this device will be running 24/7 for a month or more. A garage or shop would be ideal.
Step 1: Coarse Grind (Shaping) 7-10 days
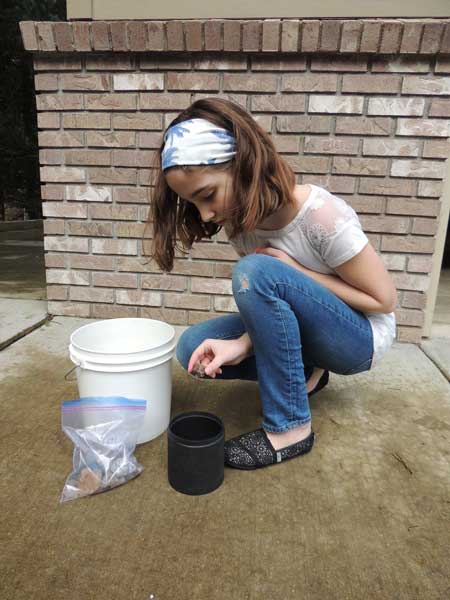
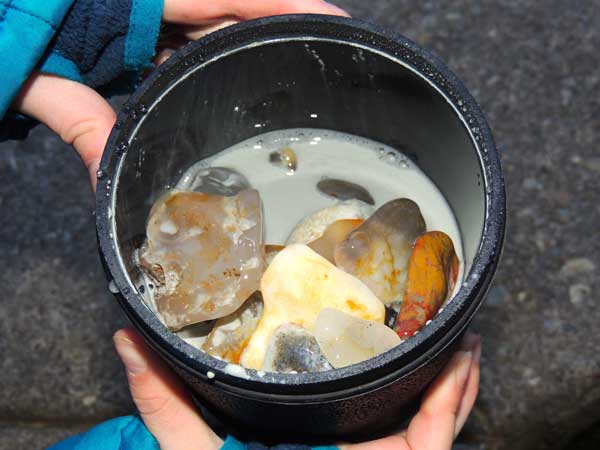
Loading your rock tumbler barrel is the first step to polishing your stones.
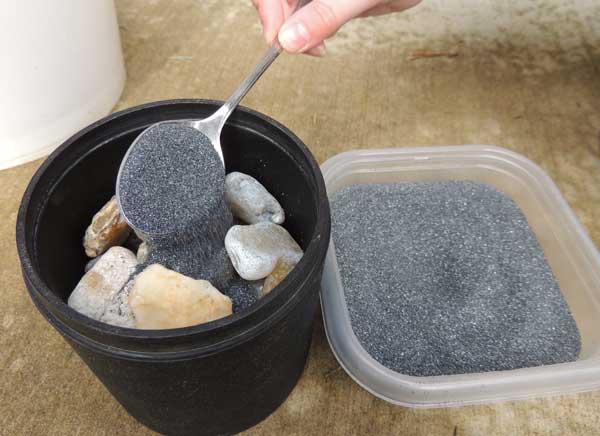
a. Fill barrel ¾ full with stones that are a variety of sizes; shake to settle. During tumbling, the stones will be reduced 15-20% in size. If the barrel is not full enough or too full, you won’t get the proper tumbling action.
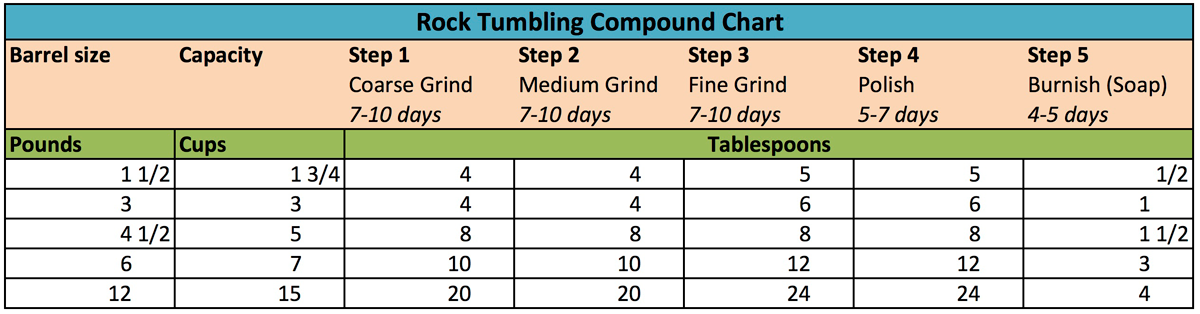
b. Add coarse grit to the stones in the barrel. Refer to Tumbling Compound Chart for how much grit to add, which is dependent on the size of your rock tumbler.
c. Add water until the water level is just touching the bottom of the top layer of stones. Too much water will affect tumbling action (rock tumblers are sensitive; they need just the right balance).
Step 2: Medium Grind (Sanding) 7-10 days
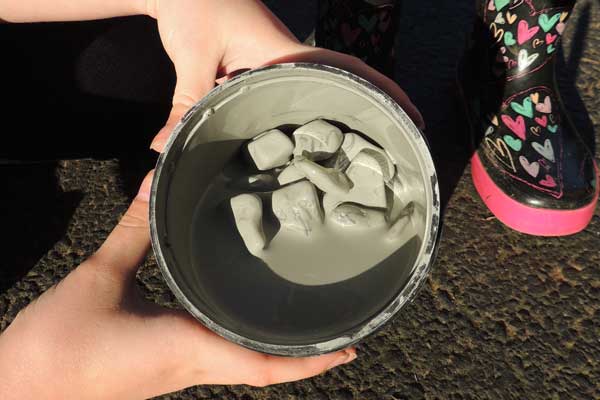
It’s time to thoroughly wash the coarse grit off the rocks to move on to the next step: medium grind.
a. Thoroughly wash the course grit off your rocks. I can’t stress this enough—wash off every little grit particle!
b. Follow the instructions in Step 1, a-c, substituting medium grit for the course grit.
Step 3: Fine Grind (Pre-Polish) 7-10 days
a. Thoroughly wash the medium grit off your rocks.
b. Follow the instructions in Step 1, a-c, substituting fine grit for the course grit.
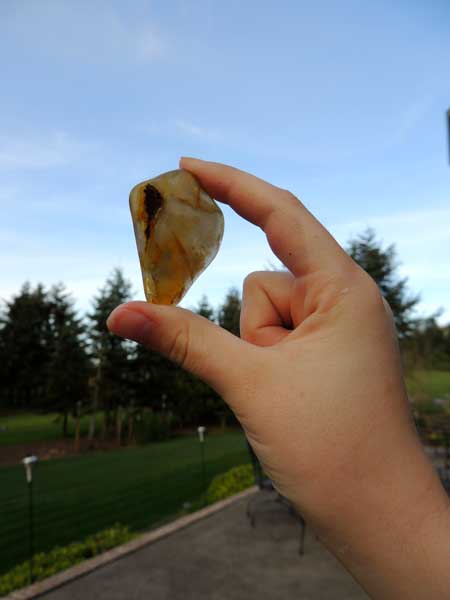
After running this pre-polishing load for a week, you should have rocks that are extremely smooth with a nice sheen!

Step 4: Polish 5-7 days
The fourth step, polishing, is technically the final step in the process, the one that shines your beautiful stones.
a. Thoroughly wash the fine grit off your rocks.
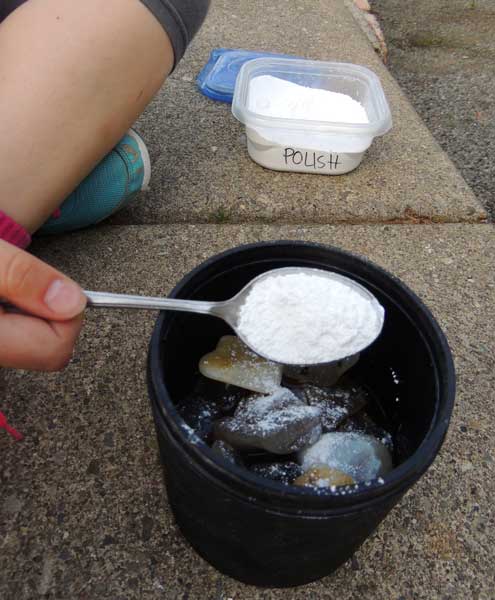
b. Follow the instructions in Step 1, a-c, substituting polish for the course grit.
Then, close the barrel and tumble the rocks for another week.
Step 5: Burnish Soap 4-5 days
Sometimes stones are a little “hazy” when they come out of the polish and small particles of polish are hidden in the tiny crevices of the stones. It helps to clean them up by burnishing the rocks in soapy water for 4-5 days. We’ve always used Ivory Snow laundry detergent, but I understand other powdered soaps work well, too, such as Tide and White King. DO NOT use liquid detergents, however.
a. Thoroughly wash the polish off your rocks.
b. Follow the instructions in Step 1, a-c, substituting soap for the course grit. Note in the Tumbling Compound Chart that the amount of soap you use is less than the amount of grit you used in previous steps. Also, you only need to run this load for 4-5 days.
Tips:
- Great results take time. Patience will pay off!
- Do not pour any of the slurry down the sink—it may turn solid.
- Don’t mix rocks of different hardness in the same batch. Avoid mixing quartz and agate.
- Make sure to thoroughly wash rocks and barrel during each grit stage. Grit contamination can cause a hazy polish. If your stones have pits, grit can get trapped. Remove rocks with pits or clean them out well.
- Keeping a record can be fun and helpful. Check out this printable tumbling log on www.rocktumbler.com
There are so many uses for polished stones. Whether you display your shiny treasures, use them to make jewelry or share them as “wishing stones,” you’re sure to find your own special use for those beautiful treasures.